I think I've finally learned the lesson (only took about 40 years) not to buy cheap tools. I happen to have a pretty well stocked tool collection, dozens of wrenches, sockets in 3 drive sizes, air tools etc. This engine rebuild I've embarked on has caused me to add to that with about $400 worth of tools I either was missing or (bulk of that) are completely specific to the assembly of a Porsche engine.
Well I nutted up and every task so far has gone smooth as silk, no buggered nuts or stripped allens. If you are reading this doing research for doing the same here is the short list of what you can expect you simply HAVE to have:
-A full complement of metric sockets (in 1/4, 3/8
& 1/2) I have deepwells of 13, 15, 17 in 1/2 drive that I've purchased while doing this to get to some tricky spots. I've got several extensions for each drive size (including a 9" and 12" in 3/8 and a 5" and 3" in 1/2) that have been imperative. I have a 1/2" breaker bar and I can't tell you how many times I've used my 3' long 1" piece of pipe (smoothly breaks loose something using a 3/8 wrench, 1/2 wrench or the breaker)
-A good (don't go to harbor freight for this next few!!! Please, ask me how I know) set of allen keys AND a solid set of allen drivers in 3/8" (metric obviously) Mine are Husky from HD.
-A long shaft 1/2" drive 10mm allen (if you have heat exchangers, I don't, you need a long shaft 8mm as well) - special ordered for ~$20 each
-A 12mm 12-point driver, I heeded advice and special ordered this one too, got a snap-on (~$30), nary a stripped 12-point (looks like a complex allen) in a spot you DO NOT want to strip out a bolt.
-A Camshaft tool, looks like a boxed ended deep socket, must be ordered on-line
-A Crows-foot Wrench, goes with the camshaft tool
-An engine yoke - here I cheaped out and ordered one from a guy that makes them on ebay that was decently reviewed on Pelican. It has worked fine for the casual user (I made a previous post about it). I'd buy it again, and was ~$170 less than the true awesome one.
-An engine stand - another spot I guess I cheaped out but it seems standard fare, this was a Harbor Freight one for ~$50. IMHO HF is great for some things you just have to have an understanding of the importance of certain items and/or what's disposable vs what NEEDS to last.
Lastly I bought myself a transmission jack. I actually got it from a local pawn shop for pretty cheap, it was a HF one I determined later. It goes up much higher than my other (large) jack and has made doing this totally alone possible. Others have said an ATV jack works nicely. If I hadn't gotten this so inexpensively I was thinking of getting a ~$150 jack table from the great HF.
And here is where we are today :)


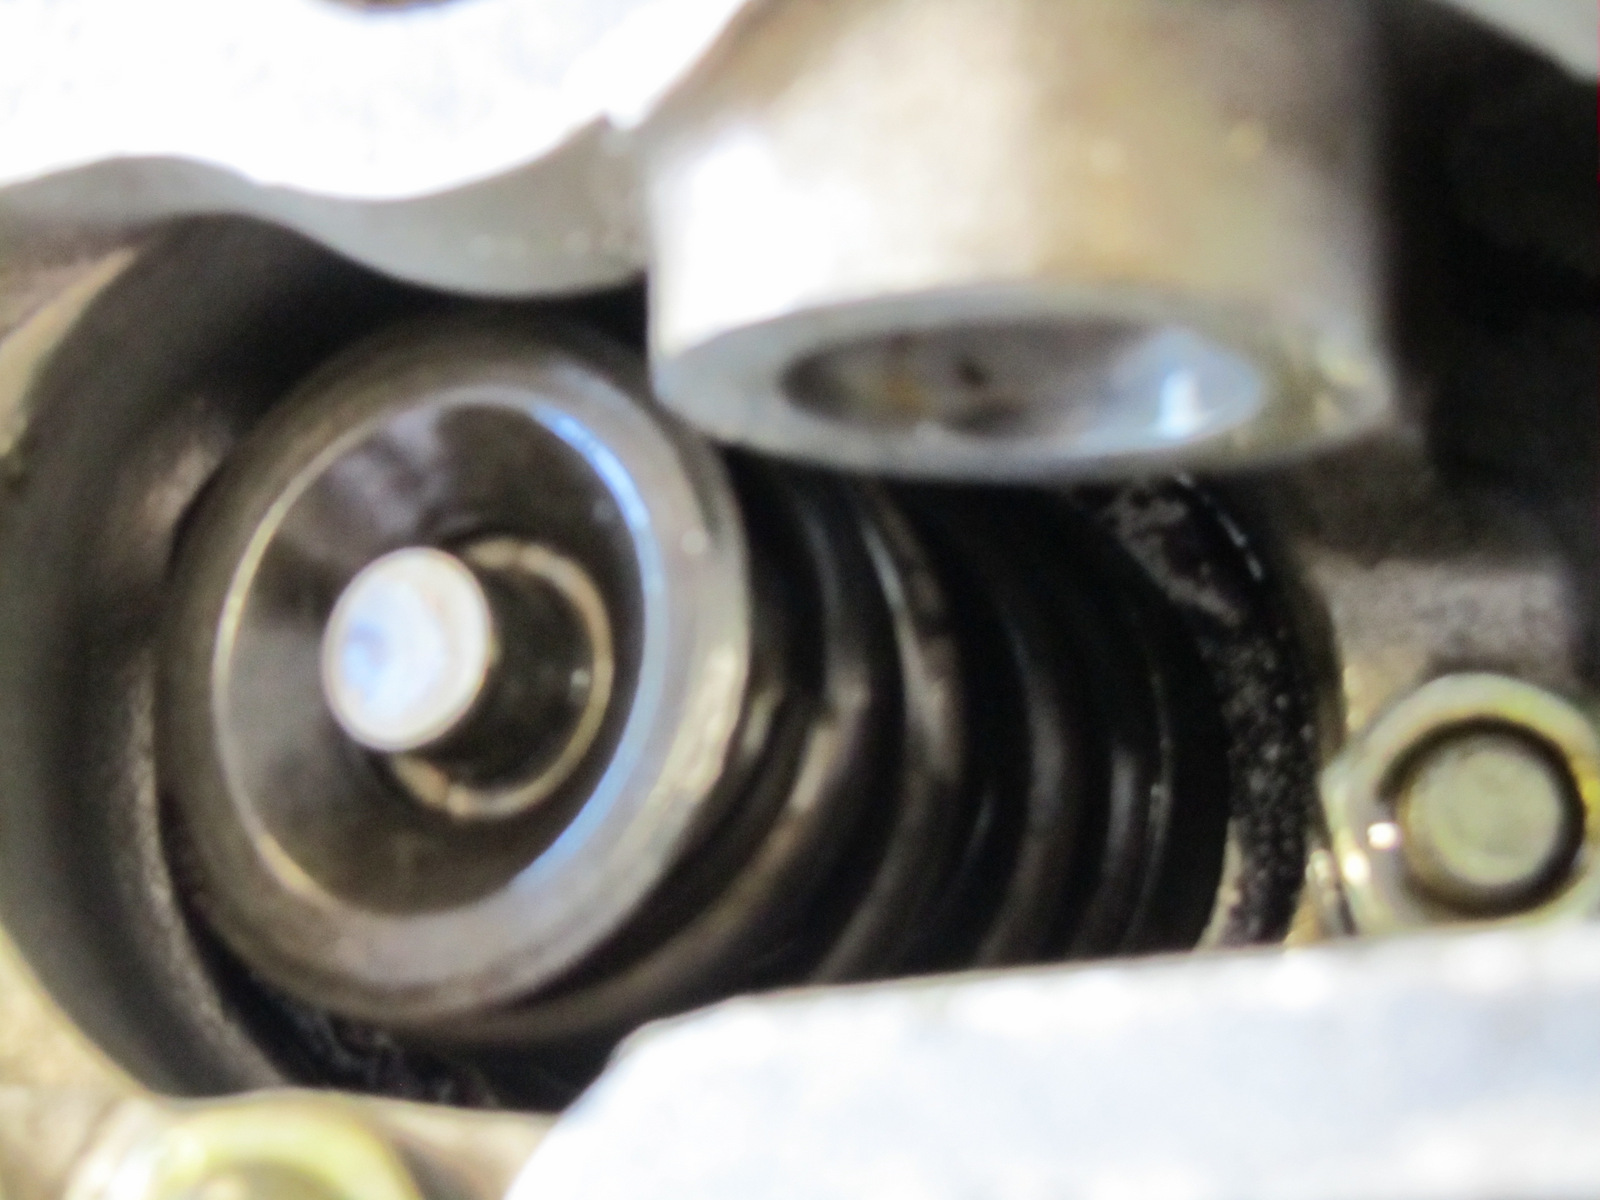
Found my broke valve spring, yay!
My HF stand and inventive flywheel lock, there is also a picture of the 12pt socket and where you need it

A thing of beauty

 What? You thought I meant... Nooo, I was talking about CYLINDER HEADs you sick B@stards! I am slowly getting somewhere, I've been ultra fastidious (per all recommendations) in my workspace and each part that gets put together, making sure to wipe my work surface down regularly and each part gets clean wiped before assembly. I've covered everything with some thick plastic each time I've left it at the end of a work session.
 Here is the right side complete. I spent some time cleaning up wire wheeling and re-painting the cylinder cooling tin even though I know it won't see too much of the light of day, just seemed the right thing to do.

 Here's a shot of the parts I got back from the machinist, 1 out of spec valve (wasn't seating properly) all the exhaust valve guides (3 or 4 were worn out of spec) and all the valve springs. Obviously the 2 on the left were broken, the rest replaced as I figured how far behind could the others be and I don't want to do this again soon!